首先我们需要安装Docker,如果没有安装Docker的朋友,可以参考我以前的博客一篇博客教会你怎么安装Docker进行Docker的安装。
启动 Docker
在使用 Docker 安装 Nginx 之前,我们先要启动 Dokcer,我们可以使用启动命令启动 Docker 服务。
1 | systemctl start docker |
启动成功之后,我们可以使用命令查询 Docker 服务是否启动成功。
1 | systemctl status docker |
执行命令后出现如下的内容输出,即表示 Docker 服务已启动成功。

创建 Nginx 容器
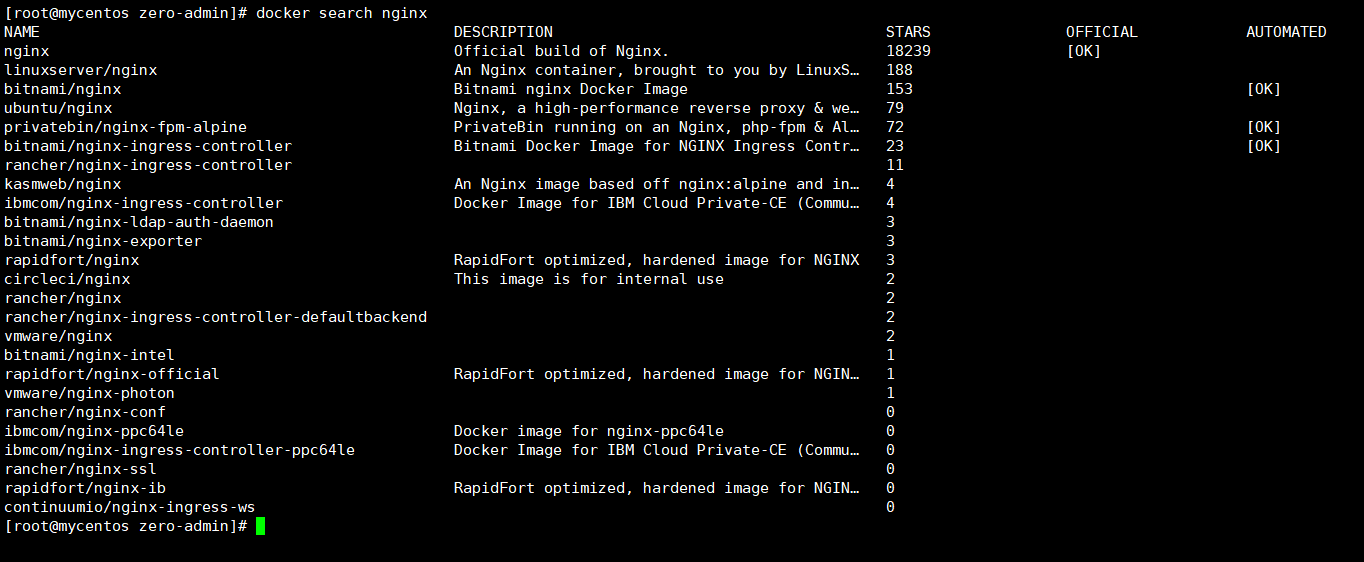
在创建 Nginx 容器之前,需要从云端拉取一个 Nginx 的镜像,我们可以使用 Docker 的查询命令来查看 Nginx 的镜像。
1 | docker search nginx |

其中第一个就是官方提供的镜像,我们使用 Docker 的拉取命令获取镜像。
1 | docker pull nginx |

拉取镜像成功之后,我们可以查看本地拥有的镜像。
1 | docker images |

将 Nginx 镜像下载到本地之后,我们可以通过该镜像创建一个本地容器。
1 | docker run -d -p 80:80 --name nginx -v /usr/app/zero-admin:/usr/app/zero-admin/ nginx |
创建容器之后,使用启动容器的命令启动 Nginx 容器。
1 | docker start nginx |

通过 docker ps -a 命令,我们可以看到 Nginx 容器已经启动成功了。
配置 Nginx
经过以上的步骤,Nginx 已经启动成功了,然后我们需要对 Nginx 进行配置。
使用 docker cp 命令,将 Nginx 容器内的配置文件 nginx.conf 复制到本地的临时文件目录下。
1 | docker cp nginx:/etc/nginx/nginx.conf /tmp/nginx.conf |
使用 vim 对配置文件 nginx.conf 进行编辑。
1 | vim /tmp/nginx.conf |
修改之后的配置文件 nginx.conf 如下:
1 |
|
修改后的配置文件
nginx.conf与原文件相比,改动了两处:
1、将include /etc/nginx/conf.d/*.conf;这一行进行了注释。
2、在 http 内添加了一个 server。
将修改后的配置文件 nginx.conf 复制回容器 Nginx 内。
1 | docker cp /tmp/nginx.conf nginx:/etc/nginx/nginx.conf |
重新启动 Nginx 容器。
1 | docker stop nginx |
至此,使用 Docker 安装并配置 Nginx 的步骤就全部完成了,使用浏览器访问服务器的 ip 地址,就能访问到代理目录下的文件了。

